|
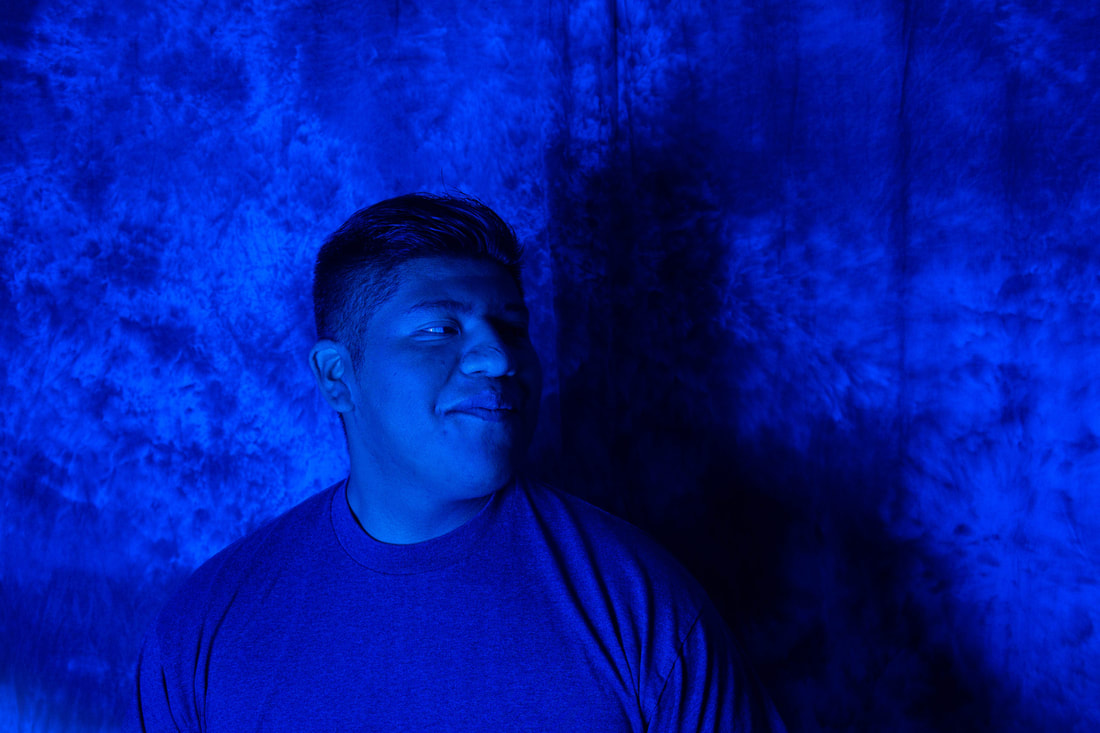
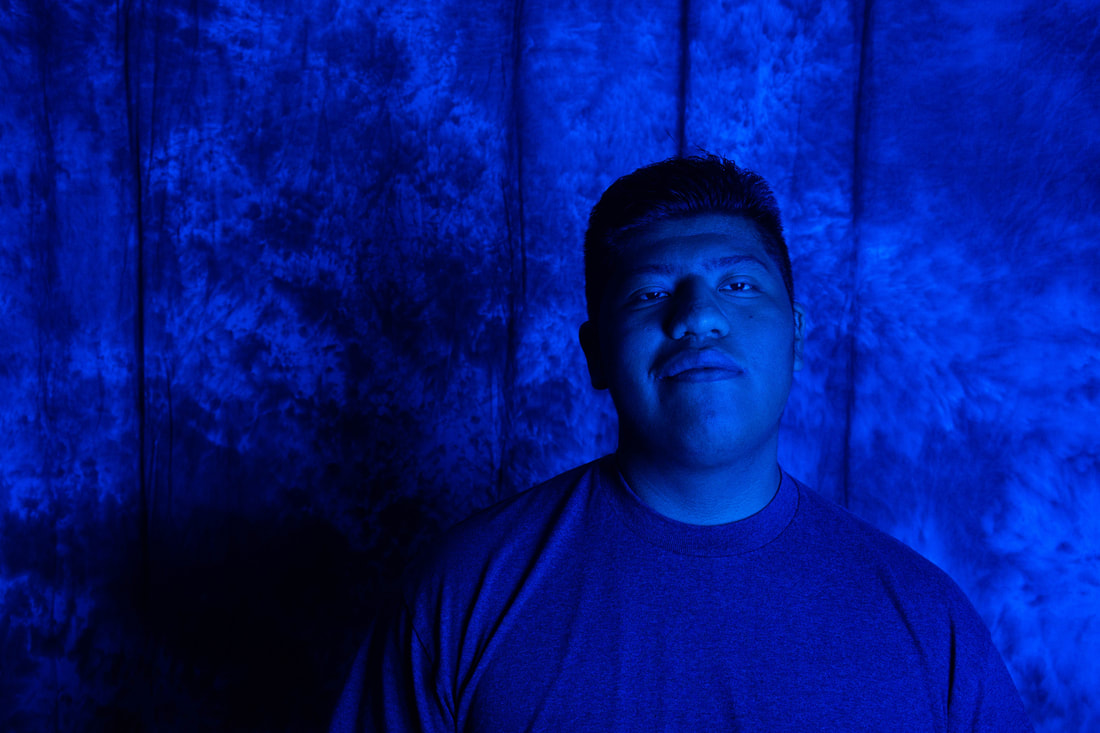
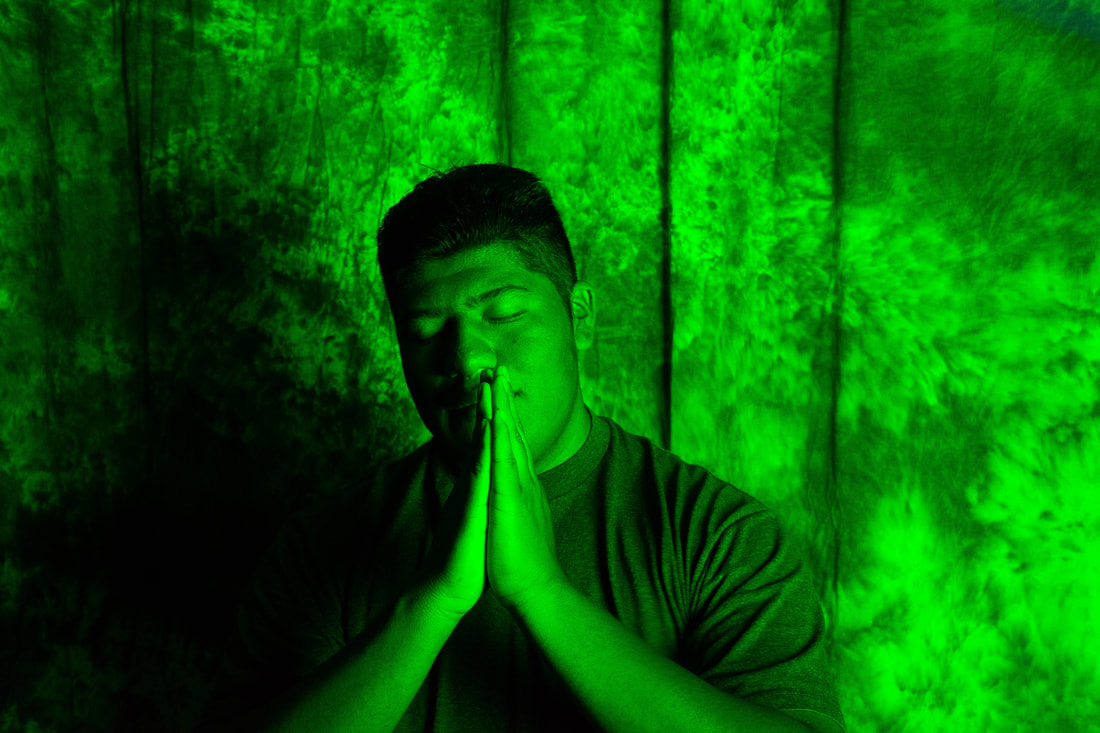
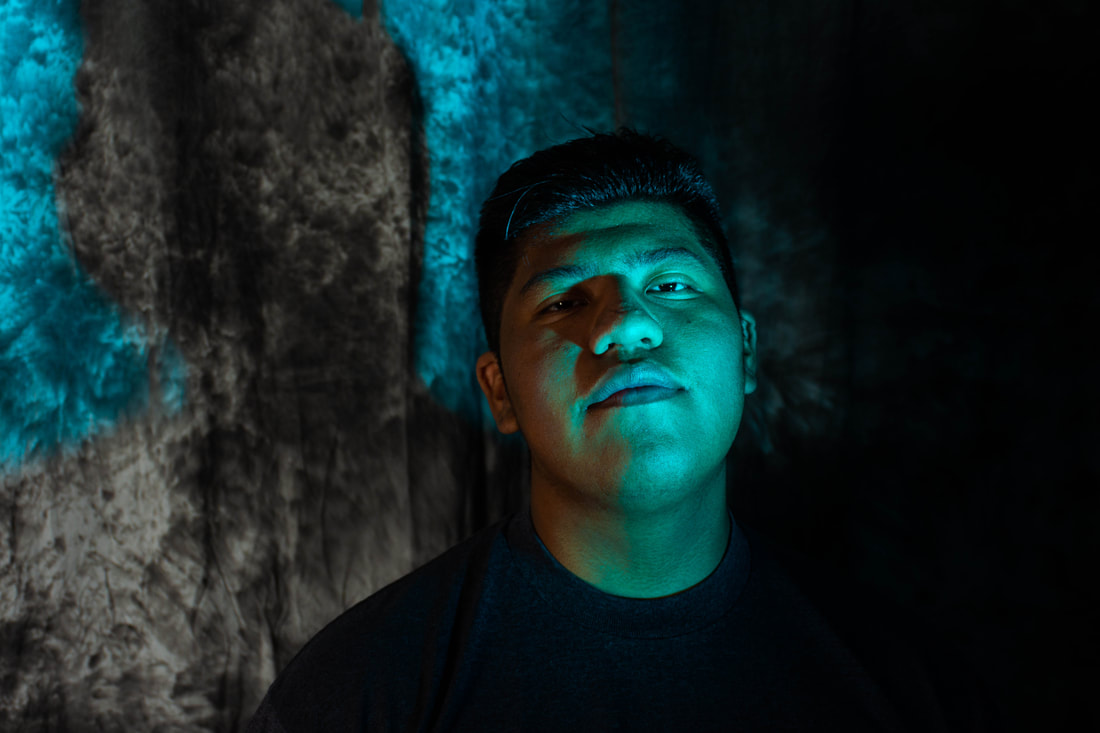
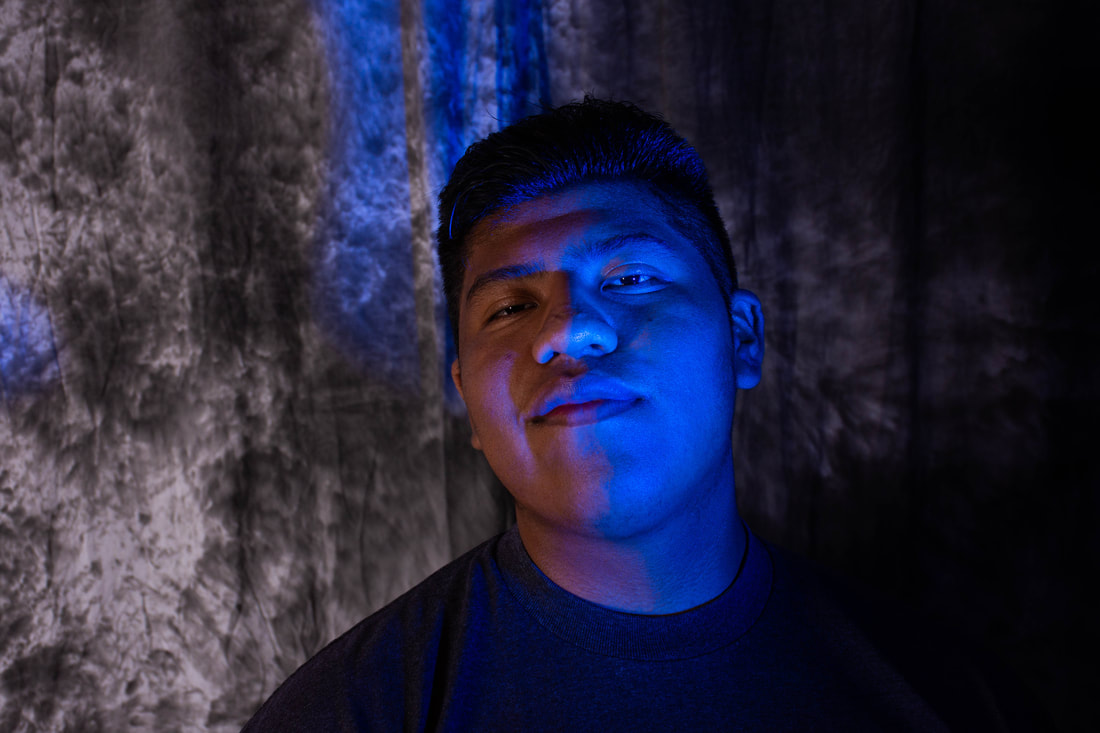
To use the colored gels we tried at first to place the gels in front the lights that we had but since we didn't have barn doors to hold the gels the flash from the light was not able to illuminate the gels. So instead we put the different gel sheets in front of the camera to make the colors visible. I liked using the colored gels and the outcome of the photos. We also placed the gels on the background light to make the last two pictures that had a spotlight on just the face of the subject.
0 Comments
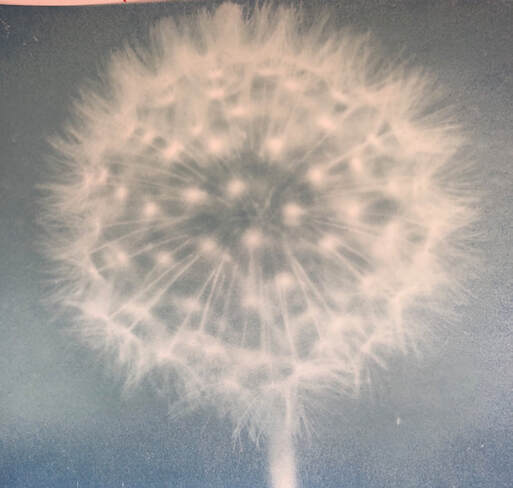 The cyanotype print was created by John Herschel in 1842. Cyanotypes involve the mixture of two chemicals, ferric ammonium citrate and potassium ferricyanide. The mixture of these two chemicals create a green hue but once exposed to light it turns into a cyan blue. The cyanotypes have now become popular for blueprints. To make a negative for the cyanotype you must first transform the picture into black and white. Then adjust the brightness and contrast. Once done with that you can invert the picture and crop the image to the correct size. To create the cyanotype, in a dark room, you must brush white paper with the mixture of the two chemicals. Then let the paper dry; once dry you can place the negative on the paper and with plexiglass on top of the negative. Then let the cyanotype sit out in the sun until the paper is a deep blue on the edges of the paper. The you must go back inside and dip the paper gently in a shallow dish filled with water. Then hang up the paper outside to dry.   I enjoyed this project because it is a unique way to photograph items that we interact with or see everyday. With this project you could arrange any items by color, shape, or by its contrast. This was a fun project that showed a new perspective on how unique photography can be. |
AuthorJulius Butler Archives
May 2019
Categories |
 RSS Feed
